fishing rod guide repair kit
Fishing Rod Guide Repair Kit: A Comprehensive Guide
Repairing fishing rod guides extends their lifespan and enhances performance; kits offer accessible solutions for enthusiasts, utilizing epoxy, thread, and replacement guides.
Understanding the Need for Repair
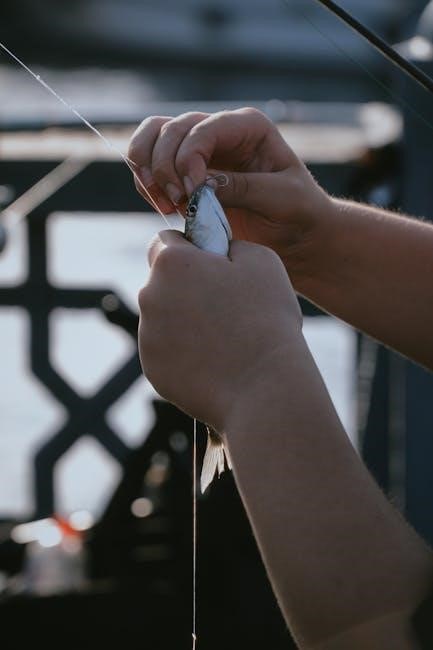
Fishing rod guides are crucial for casting distance and accuracy, but they’re susceptible to damage from impacts, line abrasion, and general wear. Repairing guides, instead of replacing the entire rod, is often more economical, especially for frequently used or valued equipment. Addressing issues promptly prevents further damage to the rod shaft and maintains optimal fishing performance. A repair kit empowers anglers to perform these fixes independently.
Identifying Common Guide Issues
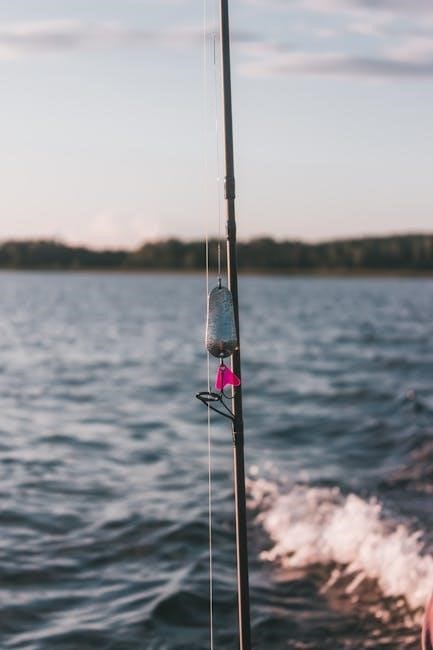
Common problems include cracked or chipped guide rings, often from impacts during transport or casting. Worn or corroded guide feet can loosen, causing instability and line friction. Epoxy failures lead to guide detachment, while fraying thread wraps signal structural weakness. Inspect guides regularly for these issues to maintain casting accuracy and prevent line damage.
Tools and Materials Required
Essential tools include a guide removal tool, fine sandpaper, a mixing stick, and disposable cups for epoxy. Materials needed are replacement guides, rod wrapping thread, two-part epoxy resin and hardener, and potentially a rod dryer for even curing. A popsicle stick aids thread wrapping, ensuring a tight, uniform base.
Essential Components of a Repair Kit
A comprehensive kit features a variety of replacement guides, sized for different rod types and line weights. Epoxy resin and hardener are crucial for secure bonding, alongside rod wrapping thread for creating a stable base. Mixing sticks and cups ensure accurate epoxy preparation, vital for a durable repair.
Replacement Guides (Variety of Sizes)
Kits typically include a selection of guides, ranging from small diameter tip-tops to larger butt guides, accommodating diverse rod actions. Stainless steel frames with ceramic rings are common, offering durability and smooth line flow. Having varied sizes ensures compatibility with most rods, including spinning, baitcasting, and fly rods.
Epoxy Resin and Hardener
High-quality epoxy is crucial for securing guides, providing a robust and waterproof bond. Two-part epoxy, requiring mixing of resin and hardener, is standard. Proper mixing ratios are vital for optimal cure time and strength. Consider epoxy viscosity; thinner epoxies penetrate thread wraps effectively, enhancing durability.
Rod Wrapping Thread
Specifically designed rod wrapping thread, or even durable sewing thread, is essential for creating a secure base for epoxy. Tight, even wraps are paramount, achieved by bunching the thread and utilizing tools like popsicle sticks. The thread’s purpose is to build up layers, providing a strong foundation for guide adhesion.
Mixing Sticks and Cups
Accurate epoxy mixing demands dedicated tools; disposable mixing cups and sticks are crucial. These prevent contamination and ensure precise resin-to-hardener ratios. Using clean, dry implements is vital for a proper cure. Avoid using materials that might react with the epoxy, compromising its strength and adhesion properties;
Step-by-Step Guide to Guide Removal
Begin by carefully cutting the existing thread wraps with a razor blade or thread snips, avoiding rod damage. Gently pry the guide foot loose, applying heat if necessary to soften the epoxy. Avoid forceful removal, which can harm the blank. Patience is key to a clean removal process.
Safe Guide Removal Techniques
Prioritize rod safety during guide removal; heat application softens epoxy, but avoid overheating the blank. Utilize a razor blade cautiously to cut wraps, protecting hands with gloves. Never force a guide off, as this risks blank damage. Slow, deliberate movements are crucial for a successful, safe removal.
Cleaning the Rod Shaft
Thorough cleaning prepares the rod for new guides, ensuring optimal epoxy adhesion. Remove old epoxy remnants and debris with a solvent like isopropyl alcohol and a soft cloth. Avoid abrasive cleaners that could damage the rod’s finish. A clean surface is vital for a durable, professional repair.
Preparing the Rod for New Guides
After cleaning, lightly sand the areas where guides were removed to create a textured surface for better epoxy bonding. Wipe away sanding dust meticulously with a tack cloth. This step is crucial for a strong, lasting connection between the rod shaft and the new guide wraps, ensuring durability.
Measuring and Marking Guide Placement
Accurate placement is vital for optimal casting performance. Refer to the original guide spacing, or use established formulas based on rod length and intended line weight. Mark the rod shaft precisely with a fine-tipped marker, ensuring each guide’s position aligns with the rod’s bend curve for smooth line travel.
Applying Thread Wraps
Begin wrapping tightly and consistently, overlapping each pass to build a smooth, even foundation for the epoxy. Utilize a thread tensioning tool or popsicle stick to maintain consistent pressure and compact the wraps. Ensure complete coverage, avoiding gaps, and create a slight ramp towards the guide foot.
Attaching New Guides
Position the new guide carefully onto the prepared thread wraps, ensuring proper alignment according to your marked placements. Gently press the guide foot into the wet wraps, securing it temporarily. Maintain consistent pressure while the epoxy begins to set, preventing movement and guaranteeing a strong bond.
Securing Guides with Epoxy
Apply a smooth, even coat of mixed epoxy resin over the thread wraps and around the guide foot, fully encapsulating it. Utilize a mixing stick to eliminate air bubbles and ensure complete coverage. Rotate the rod slowly for 5-10 minutes to distribute the epoxy evenly, promoting a durable, waterproof seal;
Rod Drying and Rotation
After epoxy application, consistent rotation is crucial for a flawless finish. Employ a rod dryer – a motor with a rubber socket – rotating at 6 RPM. This prevents sagging and ensures even curing. Allow ample drying time, typically 24 hours, maintaining rotation throughout to achieve optimal epoxy hardness and guide security.
Choosing the Right Epoxy
Selecting the correct epoxy is vital for durable guide attachment. Consider viscosity and cure time; slower curing epoxies allow for adjustments. Two-part epoxy resins are standard, requiring precise mixing ratios. Ensure the epoxy is designed for rod building, offering flexibility and strong adhesion to both the rod and guide components.
Epoxy Viscosity and Cure Time
Epoxy viscosity impacts application and penetration; thinner epoxies flow easily, while thicker ones resist movement. Cure time dictates how long the epoxy needs to harden – slower times allow for adjustments during wrapping. A 5-10 minute spin time is recommended for optimal setting, ensuring a robust bond.
Proper Epoxy Mixing Ratios
Accurate epoxy mixing is crucial for a strong, durable bond. Always follow the manufacturer’s specified ratios of resin to hardener – deviations can lead to soft, brittle, or uncured epoxy. Thoroughly combine components, scraping the sides and bottom of the mixing cup for consistency.
Types of Fishing Rod Guides
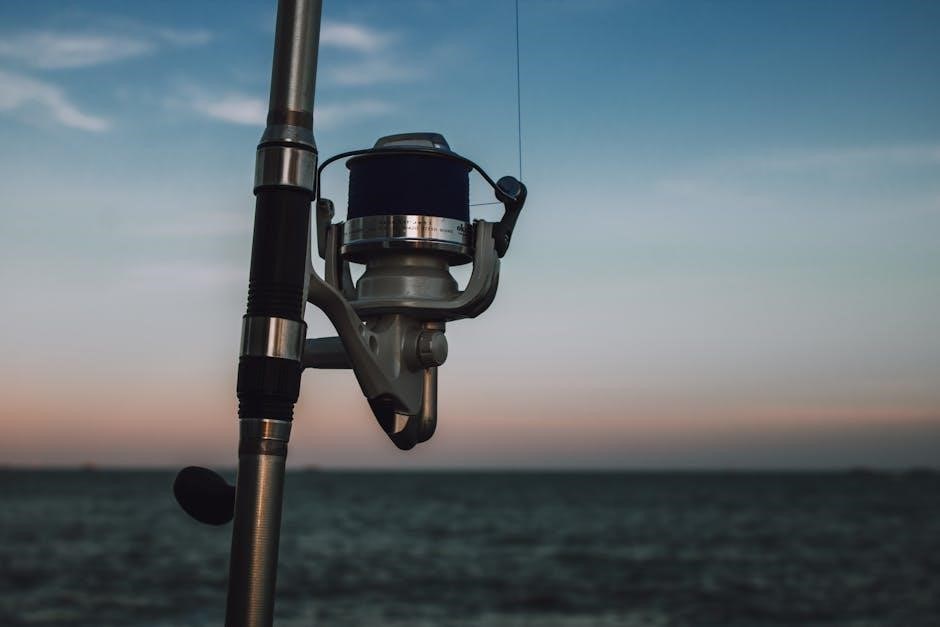
Fishing rod guides vary based on angling style. Spinning guides are typically used near the reel, while baitcasting guides reduce friction along the rod’s length. Fly rod guides are lightweight, minimizing line contact. Selecting the correct guide type ensures optimal casting distance and accuracy.
Spinning Guides
Spinning guides, positioned closest to the reel, feature a larger diameter and angled foot. This design facilitates smooth line flow during casting with spinning reels. They minimize line twist and maximize casting distance. Replacement spinning guides are readily available in repair kits, ensuring continued performance.
Baitcasting Guides
Baitcasting guides are typically smaller in diameter than spinning guides and arranged in a tapered configuration along the rod. They manage line flow during the heavier loads associated with baitcasting reels. Repair kits include various sizes to match your rod, improving accuracy and reducing friction.
Fly Rod Guides
Fly rod guides demand specialized attention during repair, often requiring fly-fishing specific kits. These guides are usually ceramic and lightweight, prioritizing delicate line control. Replacement tip tops are readily available online, like at Prooflyfishing.com or Mudhole.com, ensuring precise line management for optimal casting.
Sourcing Repair Kits and Components
Comprehensive repair kits are widely available online from retailers like Mudhole.com and Prooflyfishing.com, offering complete solutions. Local tackle shops also stock guides and repair components, though fly-fishing specifics may be limited. Janns Netcraft provides affordable kits and guides, alongside helpful instructional videos for DIY repairs.
Online Retailers (Mudhole.com, Prooflyfishing.com)
Mudhole.com and Prooflyfishing.com are premier online destinations for rod building and repair supplies. They offer extensive selections of replacement guides, epoxy resins, and wrapping threads. New tip tops are available for around $2-$3 each, in various sizes and finishes, catering to diverse rod repair needs.
Local Tackle Shops
Your local tackle shop can be a valuable resource, potentially carrying spare parts like tip tops and guides, often sold in small repair kits. While fly fishing-specific components aren’t guaranteed, they offer immediate access to essential supplies and personalized advice for your rod repair projects.
Repairing Rod Tips
Rod tip repair often involves replacing the “tip top,” readily available online for around $2-$3 each in various sizes and finishes. These components are crucial for casting accuracy and distance. Stainless steel frames with ceramic rings offer durability and smooth line flow, enhancing overall rod performance.
Replacing Tip Tops
Replacing tip tops is a common repair, requiring careful selection of size and finish. Online retailers like Prooflyfishing.com and Mudhole.com offer diverse options. Ensure the new tip top’s frame is stainless steel for resilience, and the ceramic ring is smooth to prevent line damage. Proper installation with epoxy secures its functionality.
Stainless Steel Frame and Ceramic Ring Options
Tip top frames constructed from stainless steel provide exceptional durability and resistance to impact, crucial for withstanding fishing’s demands. Ceramic rings minimize friction, enhancing casting distance and accuracy. Quality kits feature these components, ensuring smooth line flow and longevity. Consider ring material for specific line types.
Troubleshooting Common Problems
Epoxy bubbles and imperfections can be addressed with careful mixing and a heat gun for removal. Misaligned guides impact casting; re-wrapping is often necessary. Ensure proper epoxy viscosity and cure time to avoid issues. Patience and attention to detail are key when resolving these common repair challenges.
Epoxy Bubbles and Imperfections
Bubbles in epoxy often result from improper mixing or air entrapment during application. A heat gun carefully applied can eliminate surface bubbles. Imperfections like dust can be minimized with a clean workspace. Slow, deliberate epoxy application and thorough mixing are crucial for a flawless finish.
Guide Alignment Issues
Misaligned guides drastically reduce casting accuracy and line flow. Ensuring proper alignment during epoxy setting is vital; use a straight edge to verify each guide’s position. Rotating the rod slowly while the epoxy cures helps maintain alignment. Correcting misalignment after curing is difficult, often requiring complete removal and re-wrapping.
Preventative Maintenance for Fishing Rod Guides
Regular cleaning with mild soap and water removes salt, dirt, and grime, preventing corrosion and maintaining smooth line flow. Inspect guides frequently for cracks or chips. Proper rod storage, avoiding impacts and extreme temperatures, significantly extends guide life. Consistent care minimizes the need for extensive repairs.
Cleaning and Inspection
After each fishing trip, gently wipe down guides with a damp cloth and mild soap to remove saltwater and debris. Thoroughly inspect for cracks, chips, or loose wraps. Pay close attention to ceramic inserts; damage compromises line flow. Early detection prevents further issues and costly repairs.
Proper Rod Storage
Store fishing rods horizontally or vertically in a protective case to prevent guide impact and bending. Avoid leaning rods against walls, as this can cause damage. Temperature fluctuations and direct sunlight should also be avoided. Proper storage minimizes wear and tear, extending the life of your guides.
Cost Considerations for Repair vs. Replacement
Repairing guides is generally more economical than replacing an entire rod, especially for minor damage. A repair kit costs between $20-$50, while new rods range from $50 to hundreds. Consider the rod’s overall condition; extensive damage might justify replacement, but a guide repair offers a cost-effective solution.
Advanced Techniques: Rod Drying and Finishing
Achieving a professional finish requires careful drying and finishing. A rod dryer, rotating at 5-10 RPM, ensures even epoxy curing. Applying finishing coats adds durability and gloss, protecting the wraps. Proper rotation prevents sagging, while controlled drying minimizes bubbles and imperfections for a polished result.
Using a Rod Dryer
A rod dryer, often a simple 6 RPM motor with a rubber socket, is crucial for even epoxy curing. It rotates the rod slowly, preventing sagging and ensuring a smooth, consistent finish. This controlled rotation minimizes bubbles and imperfections, resulting in a professional-quality repair and durable wrap.
Applying Finishing Coats

Finishing coats protect the epoxy wrap and enhance the rod’s aesthetics. Applied after the epoxy fully cures, these coats add durability and UV resistance. Multiple thin coats are preferable to one thick application, ensuring a smooth, even surface. Proper application prevents cracking and extends the repair’s lifespan.